How to build a React app from a Material UI template

Introduction

When building a UI for a new React app, it’s often hard to determine how exactly to start. Starting from a React template can be a great way to go. It gives you inspiration on where to start and how to get moving. Material UI provides several templates that you can choose from. Many are free, and there are many that require payment to download (though the price usually is not too bad — under $100). This is a great way to get started with a design that you can use so that you can focus on the engineering side of the UI without spending time on design. Today we’ll learn how to build a React app from a Material UI template.
What are Material UI templates?
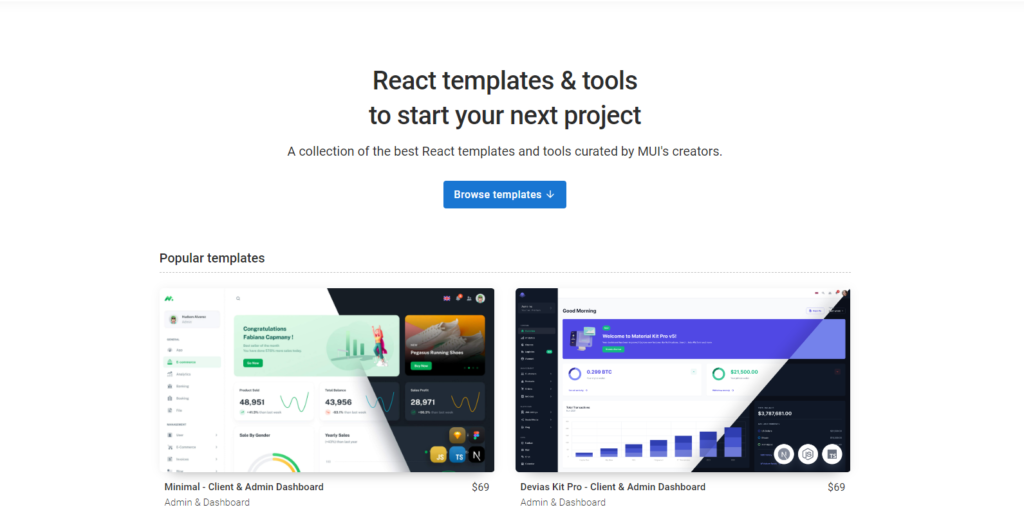
A Material UI template is a complete React solution with an example UI that you can adapt your own application from. While there are plenty of other templates out there, I’ve focused on Material UI because they’re a free React component library that I’ve used most of the time throughout my career, so using one of their templates is a simple extension of what I normally do. You can see the templates they offer here.

If you browse through the link above, you’ll see there are several template options. Most of them require purchase, though some are free (and also hosted on GitHub). The ones that are not free aren’t overly expensive — typically less than $100, though some can get as high as $200.
The paid options usually have implemented their solution using TypeScript and include the ability to choose dark mode or light mode. The free options typically just display in light mode and have been implemented in plan JavaScript.
What can I expect when using a Material UI template?
The biggest thing about using a template is the fact that it is literally a complete React solution. If you’ve already created your React project and have built components that you want to keep, it’s going to be difficult to take a template. In this case, you could just reference the source code to determine how to create certain components, but trying to import it otherwise is going to be a time-consuming process.
If you’re going to use a template, this is best decided early on before writing any code for your React project. When searching for a template, find something that closely matches what you envision for your end product. Then literally take over that code and fill in your own data.
How can I start my React project with a Material UI template?
I used the Mantis template, so I cloned the mantis github repo. I then created a new repo for my project (web.budget-tracker) and copied the files into my local branch. Then from there, I started making changes to match what I envisioned for my React app.
As I mentioned above, when picking a template, really try to pick one that closely matches with the layout you want. Rather than spending a lot of time changing up the layout, you can spend more time working on making changes to existing components to convey information on the data you’re dealing with.
Focus on incremental changes
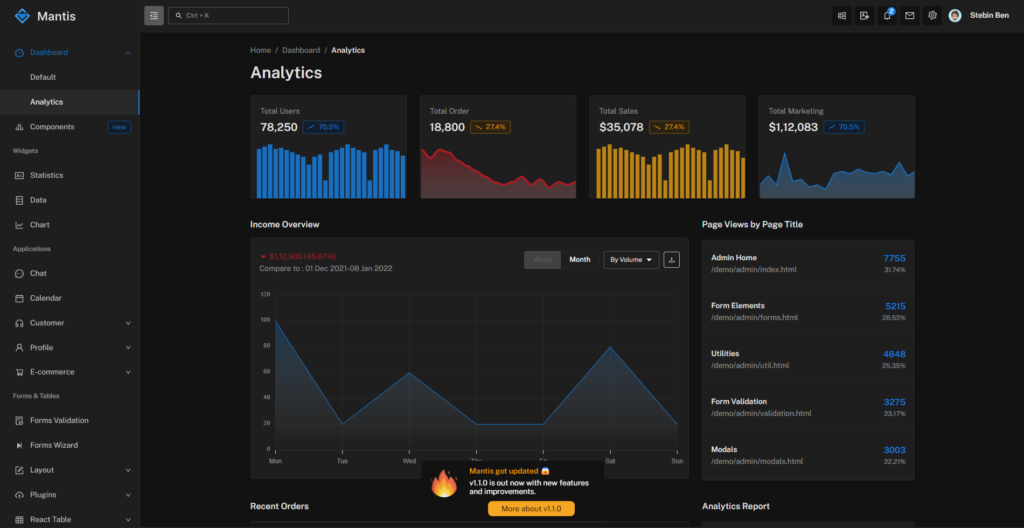
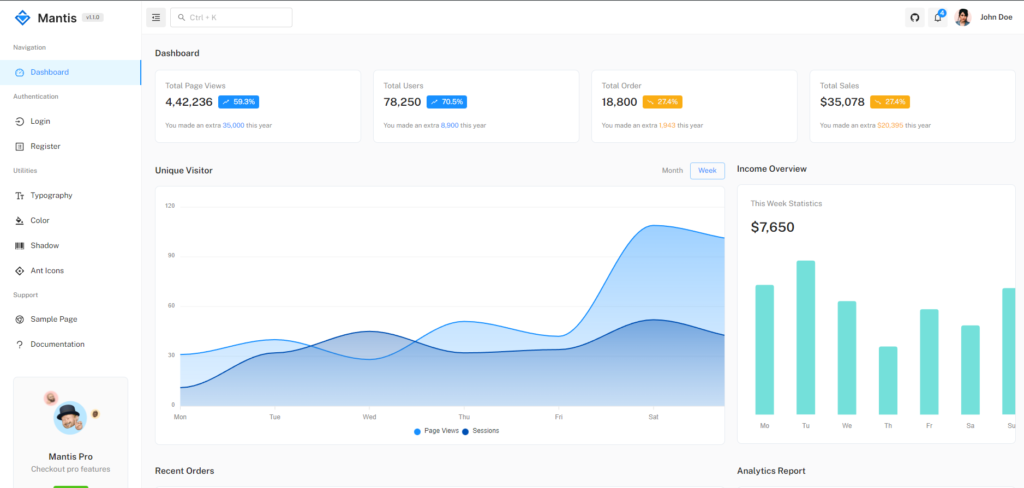
Since I used the Mantis template, I started with the following:

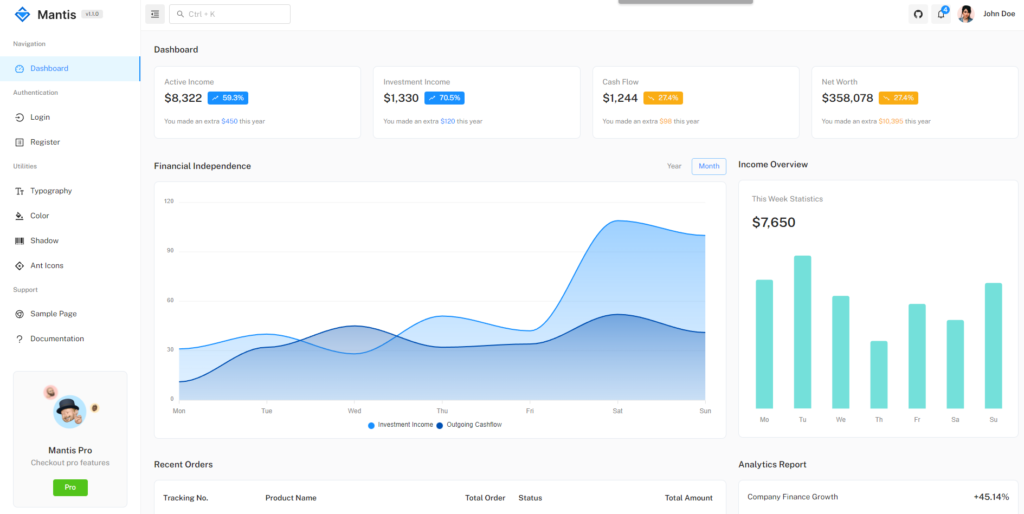
My initial changes only changed the data while keeping the same components and layout as seen below.

At this point, it looks like an almost perfect copy since I’m using a lot of the same dummy data and just updating the template to serve my needs.
It may be that over time I make some layout changes as they are needed, but the initial build is largely to be a proof of concept until you put your software to use and actually determine what needs to be changed (i.e.: customer feedback, your own usage patterns determine it should behave differently, etc.).
A word of warning
A template can be a great way to speed up getting a React UI up and running, but it does not mean that all of your needs can be met by using a template. It’s definitely worth shopping around to see if there is a template that may fairly closely match what you need, but it’s also very possible that none will. However, even if you don’t find something that matches, you can still find one that has components that you may like, and you can reference that for creating the same or similar components in your layout. Always keep in mind what your current situation calls for.